Phone: +86-137 5102 2384
Phone: +86-137 5102 2384
Sep. 16, 2026
Share:
A one stop pcb assembly service combines component sourcing, PCB fabrication, SMT assembly, through-hole assembly, inspection, testing, and delivery under one process. This model helps product teams reduce supplier coordination and improve production control. It is useful for companies searching for a one stop PCB assembly service, turnkey PCB assembly and testing, or reliable PCB assembly quality inspection before shipment. However, a finished-looking PCBA is not automatically ready for delivery. Electrical, mechanical, visual, and reliability checks are needed before the boards leave the factory.
A wrong resistor value, weak solder joint, reversed diode, or hidden short circuit may cause field failure. Pre-shipment testing is therefore not an optional final step. It is the evidence that the assembled board matches the approved design and can work safely in its intended product.

One stop PCB assembly is a turnkey manufacturing model in which one supplier manages most or all production stages:
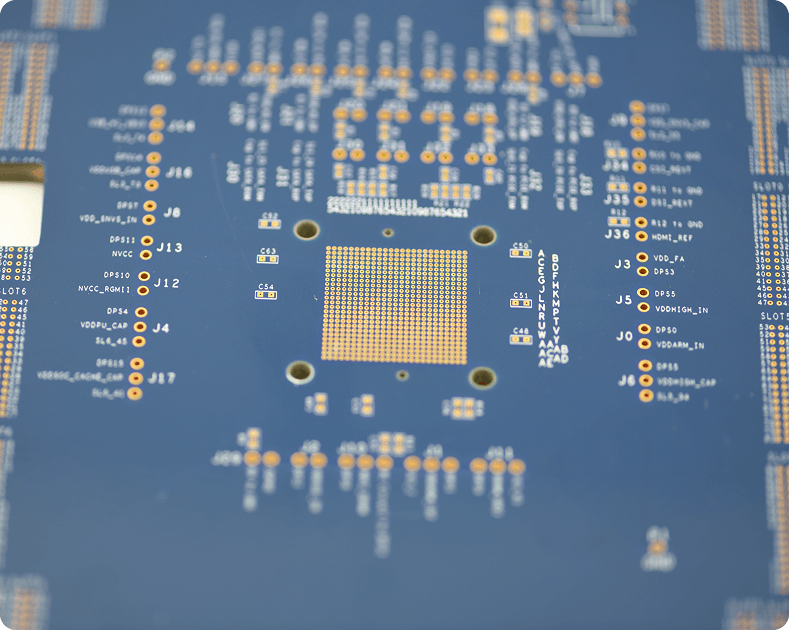
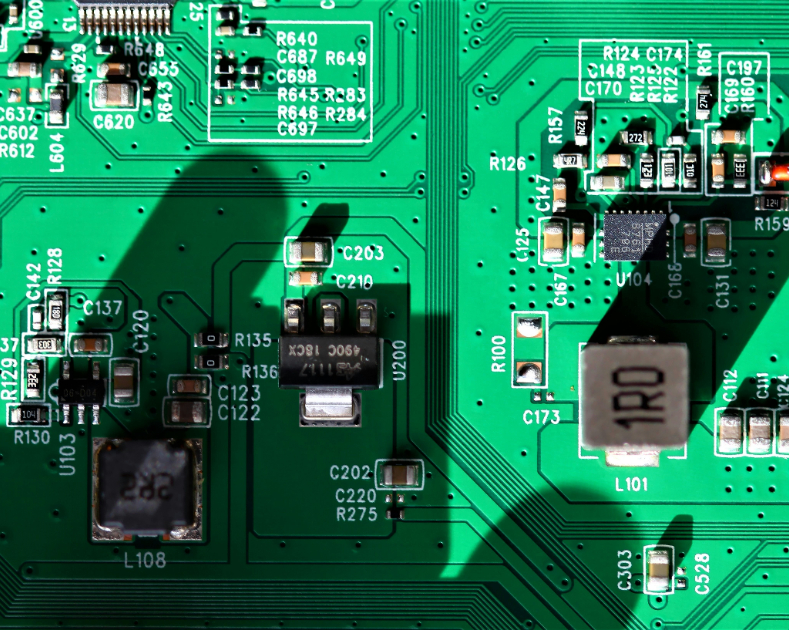
The term PCBA means Printed Circuit Board Assembly. It includes the bare PCB, electronic components, solder joints, connectors, and other parts installed on the board.
The main difference between PCB and PCBA is simple:
A one stop supplier can also manage the bill of materials, approved vendor list, engineering changes, test fixtures, inspection records, and shipping documents. This gives the buyer one communication channel instead of several independent suppliers.
Electronic products often fail because of small manufacturing defects rather than major design problems. Common examples include:
Some defects can be seen by an operator. Others are hidden under BGA packages, inside connectors, or in electrical paths that cannot be verified by visual inspection alone.
A complete test plan provides three benefits:
A board that fails inside a finished product is more expensive to repair than a board rejected during factory inspection. Early detection reduces rework, return shipping, service labor, and customer downtime.
Testing can verify component presence, signal continuity, power-rail voltage, firmware operation, communication interfaces, and protection functions.
A professional supplier should be able to link test results to:
This information is important for regulated products and for later root-cause analysis.
A test program should be based on the product’s risk, design, market, and applicable standards. Several IPC and industry standards are widely used.
IPC-A-610 defines visual acceptance criteria for electronic assemblies. It covers conditions such as:
It is an acceptance standard, not a complete electrical test procedure.
IPC J-STD-001 describes material and process requirements for soldered assemblies. It addresses soldering methods, materials, cleanliness, and workmanship.
IPC-6012 applies to rigid printed boards and defines performance requirements for board construction and quality.
IPC-TM-650 contains test methods used to evaluate materials and electronic assemblies. A manufacturer may use relevant methods for cleanliness, solderability, surface insulation resistance, and other properties.
This standard focuses on electrostatic discharge control. ESD damage may not cause an immediate visible failure. A board can pass initial inspection but fail later after being exposed to static damage. ESD controls should include grounding, wrist straps, conductive work surfaces, packaging, and regular verification.
Standards do not replace customer requirements. The purchase specification should state the required acceptance class, test coverage, sampling plan, and documentation.
A reliable one stop PCB assembly process normally uses several test layers. No single test can detect every defect.
Before physical testing, the supplier should compare the production order with the latest approved documents.
The review should confirm:
This step prevents a common problem: producing the correct design with the wrong revision.
The manufacturer should also check whether alternative components have the same electrical and mechanical characteristics. A substitute must not be approved only because it has a similar package. Important parameters include:
Components and bare PCBs should be checked before assembly.
Incoming inspection may include:
For moisture-sensitive components, the supplier should follow the manufacturer’s floor-life and baking instructions. Moisture trapped inside a package can expand during reflow and cause package cracking, a defect commonly known as “popcorn” damage.
Solder paste inspection, or SPI, measures the paste deposited on PCB pads before component placement.
SPI can check:
The amount of paste directly affects solder-joint quality. Too little paste may create an open joint. Too much paste can increase the risk of solder bridging, especially on fine-pitch components.
A useful process metric is DPMO, or defects per million opportunities:
[ \text{DPMO}=\frac{\text{Defects}}{\text{Units} \times \text{Opportunities per unit}}\times 1,000,000 ]
DPMO should be interpreted with the product’s complexity and test coverage in mind. A board with 1,500 component and solder opportunities has a different risk profile from a small board with 80 opportunities.
Automated optical inspection, or AOI, uses cameras and software to inspect component placement and solder conditions.
AOI can detect many visible defects, including:
AOI is especially useful after SMT reflow. It provides repeatable inspection and stores image evidence for review.
However, AOI has limitations. It may not reliably inspect:
For this reason, AOI should be combined with other inspection and electrical tests.
X-ray inspection is recommended when the board contains hidden solder joints or complex packages. It is commonly used for:
X-ray images can reveal internal solder conditions that cameras cannot see. The required inspection level depends on package type, product risk, and customer specification.
For a safety-critical or high-reliability board, the acceptance limits for voiding and solder-joint shape should be defined before production. “Pass” should not be based only on an operator’s personal judgment.
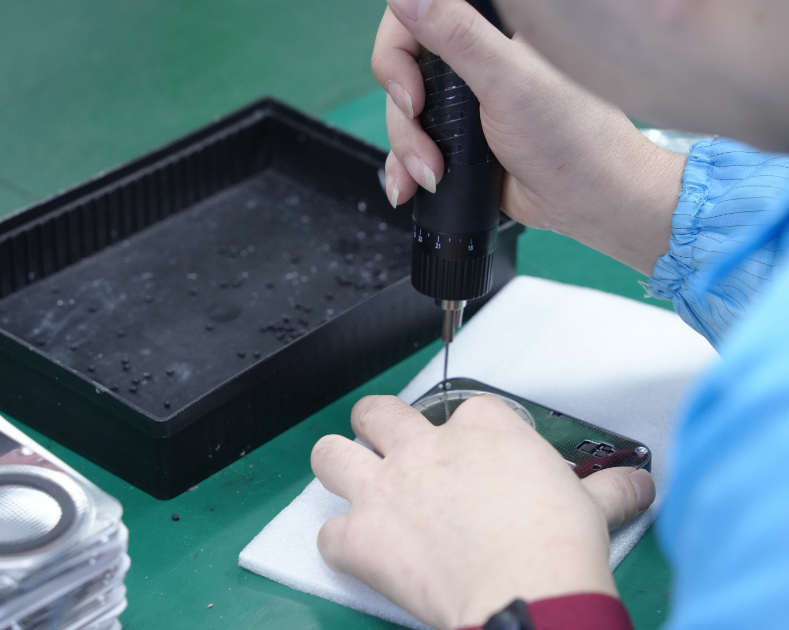
Manual inspection remains useful after automated inspection. A trained inspector may examine:
Inspection lighting and magnification should be suitable for the smallest package and feature on the board. The inspection result should be recorded rather than communicated only verbally.
In-circuit test, or ICT, uses a fixture to access test points and verify individual circuits or component networks.
ICT may test:
ICT is effective when the PCB includes suitable test points and the fixture is designed for the specific board. It can identify wrong component values that may look correct during AOI.
The limitation is cost and fixture dependence. A new board revision may require fixture changes. ICT also may not fully verify system-level behavior.
Flying probe testing uses movable probes instead of a dedicated fixture. It is useful for:
It can check electrical connections, shorts, opens, and selected component characteristics.
Flying probe testing is flexible, but it is usually slower than a dedicated ICT fixture for high-volume manufacturing. The supplier should select the method according to quantity, test-point access, and delivery requirements.
Functional testing checks whether the assembled board performs its intended job.
Depending on the product, the test may include:
A functional test should define measurable limits. For example:
| Test item | Example acceptance limit |
|---|---|
| Input voltage | 12.0 V ± 0.2 V |
| Standby current | Less than 80 mA |
| 5 V output | 4.90–5.10 V |
| CAN communication | 100% message response in test sequence |
| Temperature sensor error | Within ±2 °C |
| LED activation | Correct color and sequence |
The values above are examples only. Actual limits must come from the product design and safety analysis.
Boundary-scan testing follows the IEEE 1149.1 architecture and uses compatible integrated circuits to test board connections through a scan chain.
It can help detect:
Boundary scan is valuable when physical test-point access is limited. Its coverage depends on whether the selected devices support the required scan functions and whether the test model is available.
A PCBA can pass electrical inspection and still fail because the wrong firmware was loaded.
The supplier should verify:
A programming record should be stored with the board’s serial number. If calibration is needed, the final calibration value should also be saved.
Burn-in exposes boards to controlled operating conditions for a defined period. It may include:
Burn-in is not always required for every product. It is more common for equipment where early-life failures could create high service costs.
Other reliability tests may include:
The test level should match the product’s environment. A medical device, industrial controller, automotive module, and consumer accessory do not have identical reliability requirements.
Flux residue can create leakage paths, corrosion, or electrochemical migration under humidity and electrical bias. Cleaning requirements depend on the solder paste, flux type, spacing, voltage, and product environment.
Possible checks include:
Not every board needs the same cleaning method. “No-clean” flux does not mean the board is automatically clean for every application. High-impedance circuits, high-voltage designs, medical products, and humid environments may require additional validation.
A practical pre-shipment workflow can follow these steps:
Match the board, BOM, assembly drawing, firmware, and test procedure to the customer-approved revision.
Check solder paste inspection, reflow profile, placement records, AOI results, and any rework history.
Use AOI, manual inspection, X-ray, ICT, flying probe, or other methods according to the test plan.
Power the board using a controlled supply. Confirm voltage, current, communication, outputs, and protection functions.
Load the approved firmware and record the serial number, firmware version, checksum, and calibration data.
Every repaired board should be retested. A reworked board should not be shipped based only on the original pass result.
The quality team should review test results, reject reports, concessions, and customer-specific requirements.
Use ESD-safe packaging. Add moisture-barrier packaging and desiccant when required. Protect connectors, switches, and exposed components from mechanical damage.
Typical documents include:
PCBA inspection and testing should be planned before production, not added after assembly is complete.
A test plan should start with product risk rather than available factory equipment.
List the circuits that could cause safety, compliance, or major performance problems if they fail. These may include:
For example:
| Risk | Suitable test |
|---|---|
| Missing SMT component | AOI |
| Hidden BGA defect | X-ray |
| Wrong resistor value | ICT or flying probe |
| Firmware mismatch | Programming verification |
| Incorrect sensor reading | Functional test |
| Insulation failure | Hi-pot or insulation resistance test |
| ESD damage risk | ESD-controlled handling and electrical verification |
| Connector position error | Manual and functional inspection |
Avoid unclear instructions such as “check carefully” or “verify normal operation.” Use numbers, conditions, and time limits.
A complete test instruction should state:
Some tests are usually applied to every board, especially:
Sampling may be used for selected reliability or destructive tests. The sampling method should be documented and agreed with the customer.
AOI checks visible features. It does not prove that a circuit communicates, regulates voltage, or meets current limits. Functional testing is needed.
A replacement may fit the same footprint but have a different pinout, ESR, tolerance, thermal rating, or operating range. Every substitute requires engineering approval.
Without serial-number tracking, a buyer may not know which boards received rework. Reworked assemblies should be marked and retested.
A fixture designed for an older PCB can produce false passes or false failures. Fixture revision must be controlled along with the PCB revision.
A board that passed final test can be damaged during transport if it is placed in ordinary plastic packaging or allowed to move inside the carton. ESD-safe packaging and physical protection are part of quality control.
The number of passed boards, serial numbers, carton labels, and shipping documents should agree. A mismatch creates traceability problems even if the hardware is good.
When comparing suppliers, ask for evidence rather than general quality claims.
Important questions include:
A strong supplier should explain test coverage in clear terms. It should also identify what its inspection equipment cannot verify.
The quality result depends partly on the quality of the input information. The customer should provide:
For new products, a design-for-manufacturing review can identify issues before tooling and production begin. Typical review points include pad design, component spacing, fiducials, test-point access, thermal relief, panelization, and connector clearance.
Use this checklist before approving a shipment:
No. AOI is effective for visible placement and solder defects, but it cannot fully verify hidden joints, component values, firmware, or product function. A complete plan may also require X-ray, ICT, flying probe, and functional testing.
No. X-ray is most useful for assemblies with BGA, QFN, bottom-terminated, or other hidden solder joints. The need depends on package type, product risk, and customer requirements.
ICT checks selected components, nets, and electrical connections, often using a fixture. Functional testing operates the board in conditions similar to the final product and verifies its behavior.
For many products, 100% functional testing is recommended. The exact requirement depends on product risk, test cost, design stability, and customer specifications.
There is no universal duration. Burn-in time and temperature must be based on the product design, component ratings, reliability goals, and applicable standards. A supplier should not select a burn-in condition that exceeds component limits.
Not automatically. No-clean flux is designed to leave limited residue under defined process conditions. Sensitive circuits or harsh environments may still require cleanliness testing or cleaning validation.
Common documents include a packing list, certificate of conformance, inspection report, functional test report, serial number list, and any customer-required material or regulatory declarations.
Benewave can be considered for a coordinated PCB assembly workflow that includes engineering review, component sourcing, assembly, inspection, testing, programming, and shipment preparation. Customers should provide the latest design files and ask for a test coverage proposal before production.
Pre-shipment testing is the final control point before a PCBA enters a customer’s product or production line. A dependable process combines document review, incoming inspection, SPI, AOI, X-ray where needed, electrical testing, functional verification, firmware control, reliability checks, and ESD-safe packaging.
If you are planning a one stop PCB assembly service, prepare the latest BOM, PCB files, assembly drawings, firmware, and acceptance limits first. Then ask Benewave for a manufacturing review and a written test plan. This makes the required turnkey PCB assembly and testing process clear before production begins and helps ensure that every shipped board has measurable quality records.
Find Partners, Not Just Suppliers
Expert OEM & PCBA manufacturing tailored to your exact specifications. Contact us today to discuss your project and discover a more collaborative way to manufacture.
Get a Fast Quote & Free DFM Review
Related PCB Assembly Service