Phone: +86-137 5102 2384
Phone: +86-137 5102 2384
Aug. 12, 2026
Share:
To reduce engineering changes after PCB production starts, freeze the PCB design only after a documented DFM review, BOM verification, prototype test, and manufacturing sign-off. This approach helps prevent PCB assembly revisions, avoid late-stage ECO costs, and establish a reliable process to freeze PCB design before manufacturing. Review impedance control, solder paste aperture design, component availability, and IPC-2221 spacing before releasing files. In practice, these controls can reduce avoidable production changes by 50% or more on a small NPI project, although the result depends on product complexity, supplier quality, and test coverage.
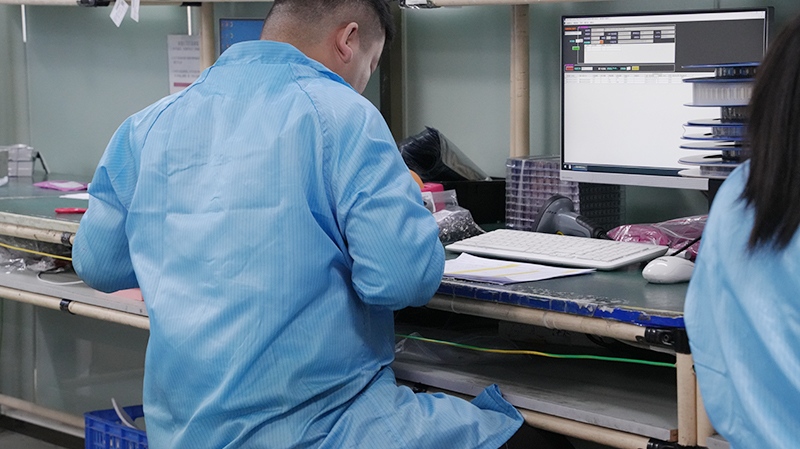
Many engineering changes begin with a small assumption: a substitute capacitor will be available, a connector will fit the enclosure, or firmware can compensate for a layout limitation. Once bare boards have been fabricated or components have been placed, that assumption becomes expensive. A revised Gerber package may require a new stencil, a new PCB order, additional assembly setup, rework labor, and another round of functional testing.
The most common causes are not advanced electrical failures. They are usually incomplete requirements, uncontrolled file revisions, unverified components, and insufficient communication between design, purchasing, manufacturing, and quality teams.
Benewave recommends treating production release as a controlled engineering decision rather than simply uploading Gerber files. The objective is to identify design, supply-chain, and assembly problems while the cost of change is still low.
The following is an anonymized engineering case based on a small industrial controller project. The board used a four-layer stack-up, an ARM microcontroller, isolated RS-485 communication, a switching regulator, and approximately 78 components. The first production quotation was based on 500 assembled boards.
During the pre-production review, the team found three issues:
Instead of waiting for the assembled boards, the team replaced the connector, approved a second-source resistor, and reduced the switching-node copper area. The changes required approximately four hours of engineering work and one updated manufacturing package. The estimated alternative cost included 500 boards, a replacement stencil, connector rework, enclosure modification, and two days of functional retesting.
The important lesson was not that the design was perfect. It was that the review occurred before the purchase order was released. The team also recorded the approved component manufacturer part numbers, the PCB revision, the stencil revision, and the acceptance criteria in one release package.
Prepare the following files before requesting a final manufacturing review:
A spreadsheet is sufficient for a small project, but larger programs benefit from a product lifecycle management or document-control system. At minimum, use:
Write down every requirement that can force a board change. Do not limit the list to voltage, current, and processor speed. Include:
Assign an owner and verification method to each requirement. For example, the mechanical engineer should approve connector and enclosure dimensions, while the manufacturing engineer should approve assembly clearances and panelization.
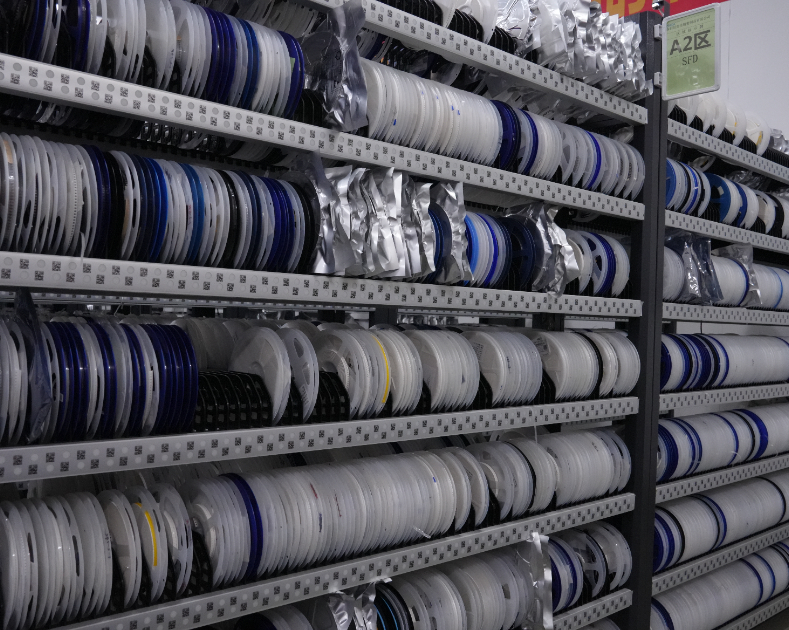
Do not approve a BOM only because every line has a part number. Check whether the part can be purchased, placed, soldered, tested, and replaced without changing the PCB.
| Review Item | Recommended Check | Potential Late Change |
|---|---|---|
| Lifecycle | Confirm active status and supplier availability | Footprint or electrical redesign |
| Package | Verify actual dimensions against the land pattern | Pad or courtyard modification |
| Alternate part | Compare pinout, height, tolerance, and thermal rating | New layout or ECO |
| Polarity | Confirm datasheet marking and assembly orientation | Silkscreen or placement correction |
| Availability | Obtain written stock or allocation confirmation | Last-minute substitution |
For every critical component, identify at least one approved alternate before the design is frozen. The alternate must be checked for pin compatibility, package dimensions, electrical ratings, thermal behavior, and manufacturing availability. “Same value” does not mean “same part.” A 1 µF capacitor with the same nominal value may have a different voltage rating, DC-bias performance, ESR, or package height.
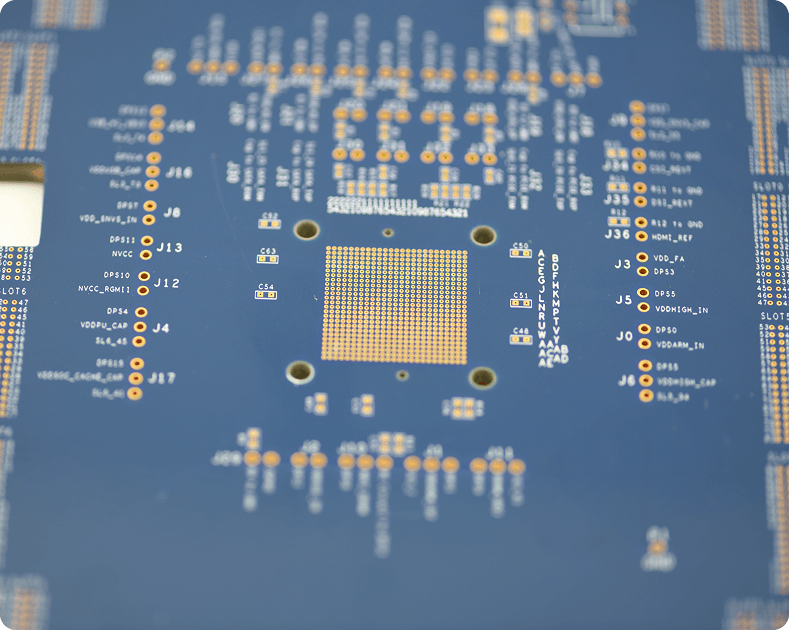
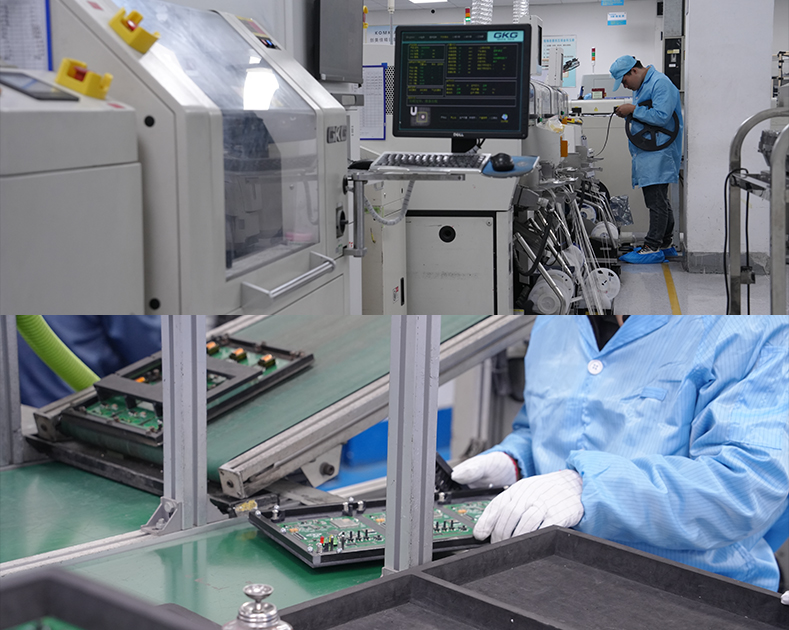
Design for manufacturability, or DFM, checks whether the PCB can be fabricated reliably. Design for assembly, or DFA, checks whether components can be placed, soldered, inspected, and reworked consistently.
Ask the PCB assembler to review at least these items:
For a 0.5 mm-pitch component, a small solder-paste aperture adjustment can affect bridging and insufficient solder. For a QFN with an exposed thermal pad, the paste pattern may need segmentation rather than one solid opening. The exact dimensions should follow the assembler’s process capability and solder-paste supplier guidance.
Request a proposed stack-up from the fabricator before routing critical signals. Confirm layer order, dielectric thickness, copper weight, finished board thickness, and controlled-impedance targets.
For a differential pair, verify:
For power circuits, calculate voltage drop, thermal dissipation, copper temperature rise, and regulator loop stability. A trace that passes a basic connectivity check may still fail because it produces excessive ripple or heat under load.
Import the PCB and major components into a mechanical CAD environment. Verify the board in its actual installation orientation, not only from the top view.
A useful acceptance rule is to record measured clearance rather than writing “adequate clearance.” For example, document “2.0 mm minimum clearance from the capacitor top to the enclosure wall” and identify the measurement source.
The prototype should answer predefined questions. Before assembly, create a test matrix covering electrical, mechanical, thermal, firmware, and manufacturing risks.
| Test Area | Example Measurement | Release Evidence |
|---|---|---|
| Power-up | Inrush current, rail voltage, startup time | Oscilloscope captures and limits |
| Thermal | Component temperature after a defined load period | Thermal image or thermocouple record |
| Signal integrity | Rise time, overshoot, eye diagram, or bus error rate | Instrument report |
| Mechanical | Connector fit and mounting-hole alignment | Signed mechanical inspection |
| Functional | Input/output behavior under normal and fault conditions | Completed test script |
Do not release the board after testing only one “typical” unit. If the design includes tolerance-sensitive circuits, test units from different assembly lots or use worst-case component values where practical.
A pilot build exposes assembly problems that schematic review cannot find. Use a limited quantity that is large enough to reveal repeatability issues but small enough to control risk. For many low-volume products, 5 to 30 boards can reveal problems with polarity, solder bridging, feeder setup, programming, and test access.
Record:
For example, if 3 of 20 pilot boards show solder bridging on the same fine-pitch device, the defect rate is 15%. Correcting the stencil or pad geometry before a 1,000-board build is substantially safer than repairing 150 assembled boards.
Create one controlled release folder or system record. It should contain the complete manufacturing package and a release manifest.
The manifest should state:
Use a checksum or document-control identifier for exported files when possible. This prevents an old Gerber file from being mixed with a newer BOM.
Production should not continue automatically when a problem is found. Define what requires a full engineering change order, what can be corrected through a work instruction, and what must stop the line.
| Change Type | Example | Recommended Action |
|---|---|---|
| Documentation only | Correcting a typo that does not affect the build | Controlled document revision |
| Assembly instruction | Adding a fixture handling note | Quality and manufacturing approval |
| Component substitution | Changing a regulator or connector | Electrical, mechanical, and BOM review |
| PCB change | Changing copper, pads, vias, or routing | Formal ECO and new fabrication data |
| Safety or compliance issue | Insufficient creepage or overheating | Stop production and perform risk assessment |
A practical rule is to stop the affected operation when a defect can change product safety, regulatory compliance, electrical performance, customer interface, or traceability. Do not allow operators to make undocumented substitutions merely to keep the line moving.
A BOM line such as “100 nF capacitor, 0402” is not sufficient. Multiple components can meet that description while having different dielectric types, voltage ratings, tolerances, ESR, and availability. Include the full manufacturer part number and define approved alternates separately.
The BOM may contain the correct reference designators while the centroid file contains an incorrect rotation or coordinate. Compare reference designators across the BOM, assembly drawing, and pick-and-place file. Pay particular attention to diodes, LEDs, IC pin 1, electrolytic capacitors, and connectors.
A layout may satisfy a generic design rule but fail at the selected factory because of copper thickness, drill technology, board size, or surface-finish limitations. Ask for capability data before final routing, including minimum trace and space, minimum drill, aspect ratio, solder-mask registration, and controlled-impedance tolerance.
Purchasing may find a part with a shorter lead time, but a substitute can change thermal performance, pin spacing, polarity, or electrical behavior. Every substitute should be evaluated against the original datasheet and approved in writing.
Electrical simulation cannot identify a connector that is blocked by a plastic wall. Use 3D models with verified dimensions. If the component supplier does not provide a reliable model, measure the critical dimensions from the datasheet or physical sample.
Verbal instructions disappear when shifts change. Use a temporary deviation record with the board revision, affected reference designators, quantity, reason, approver, and expiration date. Convert permanent corrections into a formal ECO.
Track metrics before and after introducing the review process. Useful indicators include:
For example, a team may set a target of fewer than two post-release PCB changes per product revision, a pilot first-pass yield above 95%, and zero unapproved component substitutions. These are management targets, not universal standards, so they should be adjusted for board complexity and product risk.
Choose a partner that reviews design files before accepting the order rather than only reporting defects after assembly begins. Ask whether the supplier provides:
When requesting a quotation from Benewave, provide the intended volume, board technology, component mix, test requirements, delivery schedule, and known risks. A detailed input package gives the manufacturing team enough information to identify cost and reliability issues before production starts.
The most effective method is a formal release gate combining requirements review, BOM risk analysis, DFM/DFA review, mechanical verification, prototype testing, and manufacturing approval. No single software check can replace this cross-functional process.
Freeze the PCB after the schematic, layout, BOM, mechanical model, prototype test results, and manufacturing review are complete. If the product has high safety, thermal, RF, or regulatory risk, add a pilot build before the production freeze.
Only after checking pinout, footprint, package height, voltage rating, current rating, tolerance, thermal behavior, electrical characteristics, and assembly orientation. An equivalent value or package name alone does not prove compatibility.
Contain the affected lot, identify the exact board and component revisions, record the defect, and determine whether it affects safety, compliance, function, reliability, or appearance. Then approve a deviation, rework instruction, or ECO. Do not silently alter the process.
The quantity depends on risk and volume. A few boards may be enough for basic electrical bring-up, while 10 to 30 boards can provide better evidence of assembly repeatability. Products with tight tolerances or high annual volume should use a documented pilot build and process capability review.
No. DFM reduces manufacturing-related risk, but it cannot eliminate requirement changes, software discoveries, component shortages, enclosure changes, or regulatory findings. The goal is to identify changes earlier, when they cost less and affect fewer boards.
Reducing engineering changes after PCB production starts depends on disciplined preparation rather than last-minute inspection. Define requirements, verify component availability, compare every manufacturing file, review DFM and DFA constraints, confirm impedance control and thermal performance, test prototypes, validate the enclosure, and release one controlled package.
Use measurable gates: 100% BOM manufacturer part-number coverage, documented approval for every alternate, verified mechanical clearances, completed prototype test records, and signed manufacturing release. Track post-release ECOs, first-pass yield, rework hours, and defect escape rate. With these controls in place, teams can prevent PCB assembly revisions, improve NPI reliability, and freeze PCB design before manufacturing with greater confidence. Benewave can support the process through PCB fabrication, PCB assembly, component sourcing, inspection, and production coordination.
Find Partners, Not Just Suppliers
Expert OEM & PCBA manufacturing tailored to your exact specifications. Contact us today to discuss your project and discover a more collaborative way to manufacture.
Get a Fast Quote & Free DFM Review
Related PCB Assembly Service