Phone: +86-137 5102 2384
Phone: +86-137 5102 2384
Sep. 21, 2026
Share:
For most OEM orders, PCB assembly cost ranges from about $0.30–$3.00 per board for simple, high-volume SMT production, while prototypes and low-volume PCB assembly cost may reach $8–$50 or more per board. A reliable PCB assembly cost calculator must include the BOM, setup, stencil, component sourcing, testing, and freight—not only the quoted assembly fee. This guide explains turnkey PCB assembly pricing, SMT, BOM, and prototype decisions so buyers can compare suppliers such as Benewave on total landed cost.

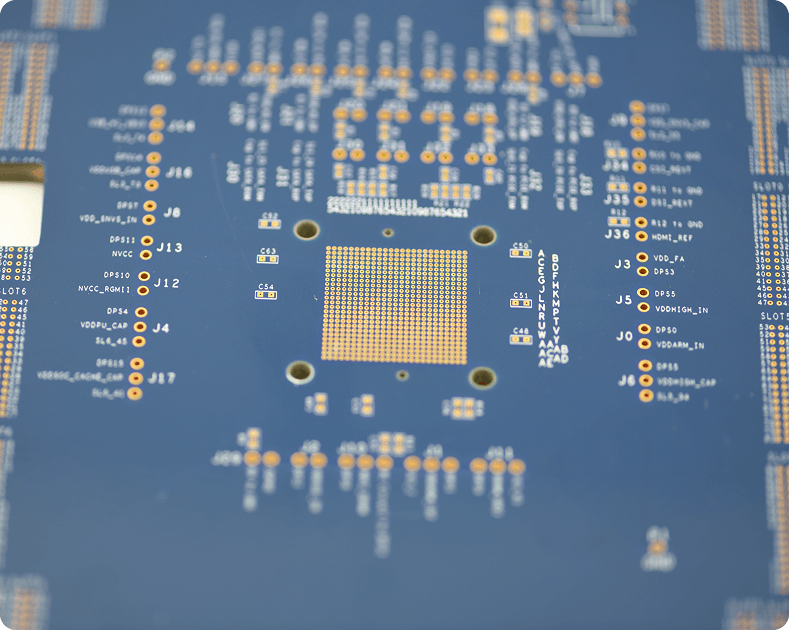
PCB assembly is the process of placing and soldering electronic components onto a fabricated printed circuit board. The final price normally combines several cost layers:
| Cost item | Typical cost range | What changes the price |
|---|---|---|
| PCB fabrication | $0.10–$10+ per board | Layer count, dimensions, material, copper thickness, impedance control, surface finish, and quantity |
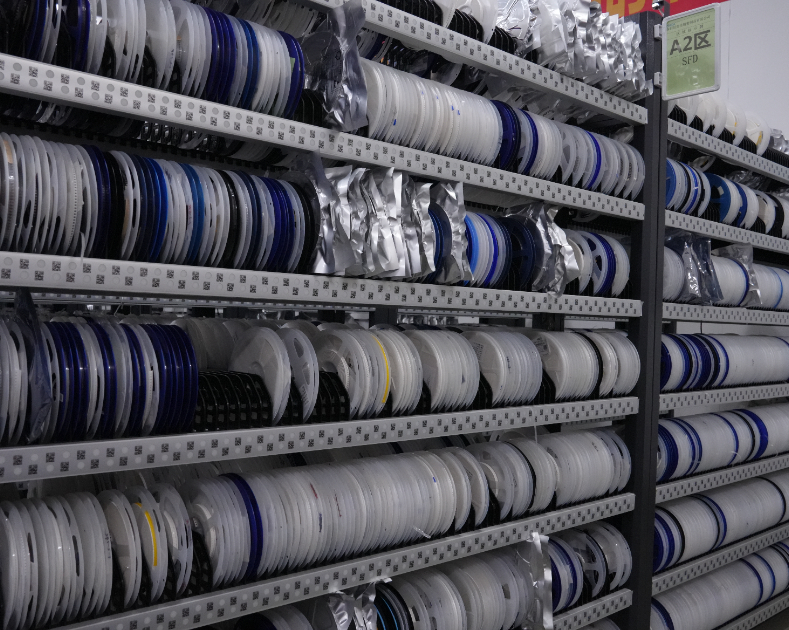
| Component purchasing | Usually 40%–80% of the total order value | Part count, shortages, lifecycle status, authorized sourcing, package type, and quantity breaks |
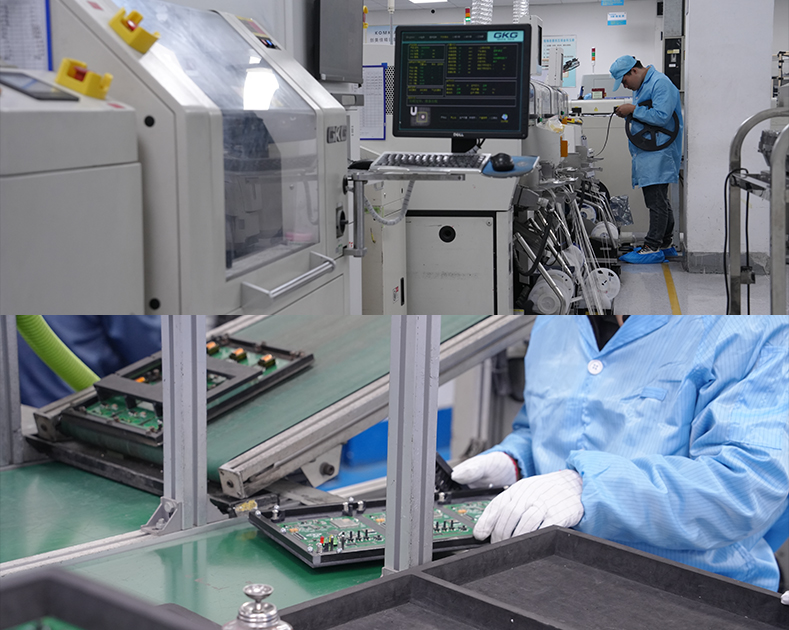
| SMT assembly | $0.01–$0.08 per placement at production volume | Number of placements, feeder changes, package mix, line utilization, and order quantity |
| Through-hole assembly | $0.03–$0.30 per lead or component, depending on method | Manual insertion, selective soldering, wave soldering, lead count, and inspection requirements |
| Tooling and setup | $30–$300 for common prototype or small production jobs | Stencil type, programming, fixture design, panelization, and line changeover time |
| Inspection and testing | $0.05–$5+ per board | AOI, X-ray, flying-probe testing, ICT, functional testing, and test fixture complexity |
| Packaging and logistics | $0.05–$10+ per board | ESD packaging, moisture control, shipping method, destination, insurance, and customs |
A supplier may quote “assembly at $0.12 per board,” but that figure can exclude the PCB, components, stencil, programming, inspection, and shipping. OEM buyers should compare total landed cost, which is the amount paid to receive tested boards at the required destination.
| Order type | Typical quantity | Approximate assembled-board price | Main cost driver |
|---|---|---|---|
| Engineering prototype | 1–20 boards | $30–$250 per board | Setup, engineering time, small component quantities, and manual work |
| Low-volume pilot | 20–200 boards | $8–$80 per board | Component purchasing and non-recurring setup charges |
| Mid-volume production | 200–5,000 boards | $2–$30 per board | BOM value, placement count, yield, and test requirements |
| High-volume production | 5,000+ boards | $0.50–$12 per board | Component price, automated line efficiency, panelization, and supply-chain agreements |
These are planning ranges rather than guaranteed quotations. A small industrial controller with 250 placements, a $35 BOM, and functional testing can cost more than a consumer board with 1,000 placements but a $3 BOM. The component value and testing requirement often matter more than the number of solder joints.
Consider a two-layer controller board measuring 100 mm × 80 mm with 64 SMT components, six through-hole connectors, and a component BOM of $18. A 50-board order may look like this:
The estimated total is $1,575, or $31.50 per board. Of that amount, only $6.30 per board is direct assembly labor and inspection. This is why asking only for the “assembly price” can produce a misleading comparison.
The BOM is usually the largest cost variable. A board with 20 resistors, 10 capacitors, one microcontroller, and a power module may have a higher BOM value than a board containing 300 inexpensive passive components.
Component availability also affects cost. Obsolete or allocated parts may require broker sourcing, minimum order quantities, or approved substitutes. Buyers should identify:
For example, replacing a $0.08 regulator with an allocated $4.50 substitute can increase the board cost by several dollars. A good supplier should obtain approval before making a BOM substitution.
Placement pricing is influenced by the number of component placements rather than simply the number of unique part numbers. A 500-component board may have 1,200 placements if several components are repeated.
Fine-pitch QFN, LGA, CSP, and BGA packages can require tighter process control than 1206 or 0805 passive components. For example, a 0.4 mm-pitch BGA may require X-ray inspection and a defined reflow profile, adding inspection and process-engineering charges.
A four-layer FR-4 board normally costs more than a two-layer board because it requires additional copper layers, lamination cycles, and drilling operations. Cost can also increase with:
Panelization can reduce cost when several boards fit efficiently on one production panel. However, depanelization stress must be considered for ceramic capacitors, connectors, and boards with narrow edges.
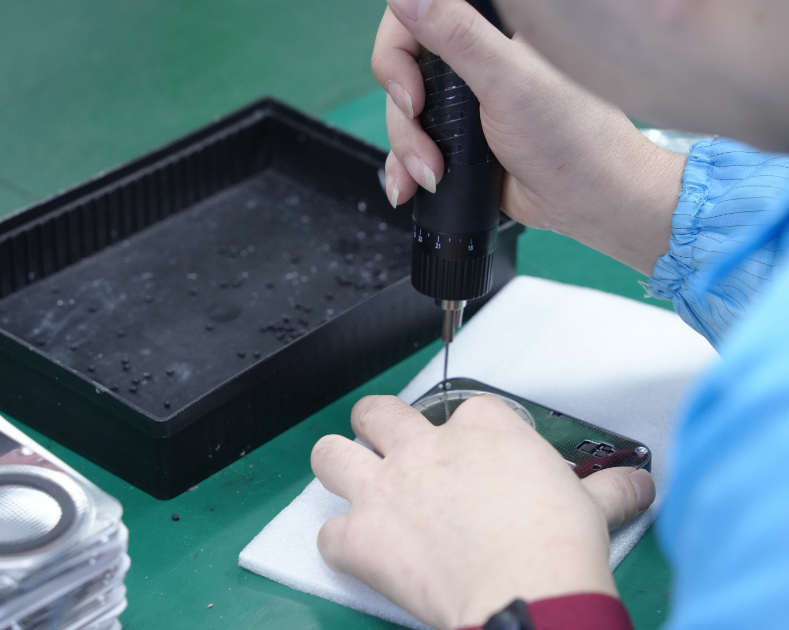
Through-hole parts generally require more handling than standard SMT parts. A connector, transformer, fuse holder, or large capacitor may need manual insertion, selective soldering, wave soldering, or a custom fixture.
Mixed-technology boards often pass through both SMT and through-hole processes. The additional handling can increase labor, inspection time, and the risk of solder defects. If a through-hole component can be changed to a qualified SMT version, the manufacturer may reduce assembly time, but the electrical and mechanical design must be reviewed first.
Inspection is not a single service. Each method finds different defects:
IPC-A-610 is widely used as an acceptability standard for electronic assemblies, while J-STD-001 defines soldering process and material requirements. The buyer should state the required revision, class, inspection coverage, and test limits in the purchase documentation.
Standard production may take approximately 7–20 working days after all materials are available. Prototype assembly can take 3–10 working days, while expedited work may require overtime, reserved line capacity, or premium freight.
Expediting is not always the best cost decision. If a $2,000 order is shipped by air at an additional $600, the unit cost increases by $6 on a 100-board pilot. Buyers should compare the financial cost of delay with the premium production and freight cost.
Manufacturing yield is the percentage of boards that pass inspection without rework. If 980 of 1,000 boards pass on the first attempt, the first-pass yield is 98%. Low yield increases rework labor, material waste, engineering investigation, and delivery risk.
Common causes of yield loss include incorrect footprints, insufficient solder mask clearance, component polarity errors, poor thermal relief, and unsuitable stencil apertures. A design-for-manufacturing review before production can cost less than correcting 500 defective boards after assembly.
A complete request for quotation helps suppliers produce comparable prices. Prepare the following files and information before contacting Benewave or another contract manufacturer.
Remove ambiguity from the BOM. “10 k resistor” is not sufficient when the design requires 1%, 0603, 50 V, automotive-grade components. A complete manufacturer part number can prevent a sourcing error that causes a production delay.
The following process can be used before requesting a final quotation. It is designed for OEM buyers who need a price that remains stable after the design enters production.
Separate prototype, pilot, and mass-production quantities. A quotation for 10 engineering samples should not be compared directly with one for 10,000 production units.
Record the annual forecast, minimum order, launch date, and acceptable split deliveries. Suppliers can then calculate component price breaks and determine whether a blanket order or scheduled release will reduce inventory cost.
Check every reference designator against the schematic and layout. Confirm polarity, package, value, tolerance, voltage rating, and manufacturer part number.
Flag parts with a lead time above the required production window. For high-risk components, approve at least one technically equivalent alternate before the first order.
Ask the manufacturer to review pad geometry, component spacing, fiducials, tooling holes, panel rails, solder mask openings, and component orientation. DFM is especially important for fine-pitch ICs and dense areas near connectors.
Typical review questions include:
Do not automatically purchase every available test. Match inspection to product risk. A consumer prototype may use AOI and visual inspection, while a medical or industrial controller may require AOI, X-ray, ICT, and functional testing.
For a BGA or bottom-terminated power module, X-ray sampling can reveal voiding and open joints that optical inspection cannot see. The inspection plan should define sample size and acceptance criteria rather than simply stating “100% inspection.”
Ask the supplier to separate recurring and non-recurring costs. The quote should identify:
Before releasing a large order, inspect a first article or pilot batch. Confirm component markings, programming, connector fit, solder quality, polarity, dimensions, and functional performance.
A pilot run may cost more per board, but it provides evidence of process capability. It is usually less expensive than discovering a footprint or firmware problem after mass production.
Evaluate more than unit price. Compare lead time, component traceability, change-control procedures, warranty terms, yield reporting, quality certifications, and engineering support.
A supplier offering a $0.40 lower unit price but requiring a six-week lead time may be more expensive if the delay causes a missed product launch. Use a total-cost worksheet rather than choosing the lowest number in a single quotation column.
In an anonymized quotation review for a small industrial monitoring device, an OEM buyer received three offers for 500 boards. The assembly-only prices were $1.85, $2.40, and $3.10 per board. The buyer initially selected the $1.85 offer.
After the quotes were normalized, the comparison changed:
| Cost category | Supplier A | Supplier B | Supplier C |
|---|---|---|---|
| Assembly and soldering | $925 | $1,200 | $1,550 |
| PCB fabrication | $1,650 | $1,350 | $1,400 |
| Components | $12,800 | $11,950 | $11,900 |
| Testing and programming | $1,250 | $850 | $900 |
| Freight and packaging | $780 | $520 | $540 |
| Total order cost | $17,405 | $15,870 | $16,290 |
| Effective cost per board | $34.81 | $31.74 | $32.58 |
Supplier A had the lowest assembly charge but used a higher-cost component source and quoted testing separately. Supplier B had a higher assembly fee but reduced the total order cost by $1,535, or 8.8%, through better component sourcing and consolidated logistics. The buyer also received a documented first-pass yield of 98.6% during the pilot run.
Problem: The buyer compares a per-placement charge with a turnkey quote that includes components and testing.
Solution: Request a line-by-line quotation and calculate total landed cost per tested board.
Problem: Missing manufacturer part numbers or approved alternatives create sourcing delays and substitutions.
Solution: Provide complete part numbers, lifecycle information, and written substitution rules.
Problem: A $120 stencil and $100 programming charge may add $22 per board to a 10-board prototype.
Solution: Amortize non-recurring charges across the planned quantity and ask whether tooling can be reused for the next build.
Problem: Insufficient pad spacing, missing fiducials, or poor thermal-pad design leads to solder bridges, voids, and rework.
Solution: Complete a documented DFM review before ordering the stencil and production panels.
Problem: The product requires functional testing, but no test points, fixture access, or software interface was designed.
Solution: Define the test strategy during PCB layout. Add test points, programming headers, diagnostic firmware, and acceptance limits before release.
Problem: A substitute may fit physically but differ in ESR, thermal performance, timing, insulation, or regulatory qualification.
Solution: Require engineering approval, electrical comparison, and sample validation for every critical substitute.
Problem: Moisture-sensitive devices can suffer package cracking or delamination during reflow if floor life is exceeded.
Solution: Require moisture sensitivity level handling, dry-pack storage, bake records when needed, and traceable opening dates.
Cost reduction should not mean removing quality controls. Eliminating X-ray from a BGA assembly may save a few cents per board but can increase field failure risk if hidden solder joints are not otherwise verified. The correct target is the lowest verified cost that meets reliability, compliance, and delivery requirements.
A simple high-volume board may have an assembly charge below $1, while a prototype with a small quantity, expensive components, and testing can cost $30–$250 per assembled board. The PCB, components, setup, inspection, and shipping must be included for a meaningful estimate.
High-volume orders normally achieve the lowest unit cost because setup and tooling charges are distributed across more boards. However, ordering excess inventory can increase storage, obsolescence, and working-capital costs. The best quantity depends on demand certainty and component lifecycle.
Turnkey assembly can reduce purchasing workload and may lower component pricing through supplier volume. Consigned assembly may be useful when the OEM already owns regulated or customer-specified components. Compare the total cost, including purchasing labor, incoming inspection, shortages, and inventory handling.
Complexity is determined by board layers, component count, package density, fine-pitch features, through-hole content, testing, and material requirements. A two-layer board with a $40 BOM can cost more than a six-layer board with a $3 BOM if the components and test process are more expensive.
A typical RFQ requires Gerber or ODB++ data, drill files, BOM, pick-and-place data, assembly drawings, schematic, quantity, delivery location, testing requirements, and quality standards. Providing complete files helps Benewave identify DFM risks and return a more stable quotation.
Prototype assembly commonly takes 3–10 working days after materials and files are approved. Production may take 7–20 working days, excluding component lead time, PCB fabrication, testing, and international freight. The exact schedule depends on line capacity and material availability.
Many OEMs specify IPC-A-610 for assembly acceptability and J-STD-001 for soldering requirements. The product class, inspection method, sampling plan, traceability, and functional test limits should also be documented in the purchase order.
To estimate PCB assembly cost accurately, calculate the PCB, BOM, SMT placements, through-hole work, setup, inspection, testing, packaging, freight, and risk of rework. Start with a complete RFQ package, request an itemized turnkey PCB assembly pricing proposal, and validate the design through DFM before committing to volume. Whether you need a prototype or low-volume PCB assembly cost estimate, Benewave can be evaluated on total landed cost, documented yield, supply-chain control, and engineering support. A sound decision uses the BOM, SMT process, and DFM data—not an isolated assembly number—to protect the OEM’s schedule and margin.
Find Partners, Not Just Suppliers
Expert OEM & PCBA manufacturing tailored to your exact specifications. Contact us today to discuss your project and discover a more collaborative way to manufacture.
Get a Fast Quote & Free DFM Review
Related PCB Assembly Service